
基础教程:使用uniapp进行request接口封装(使用fastapi做后端接口测试)
·
我们先使用HbuilderX来创建一个基础的uniapp项目: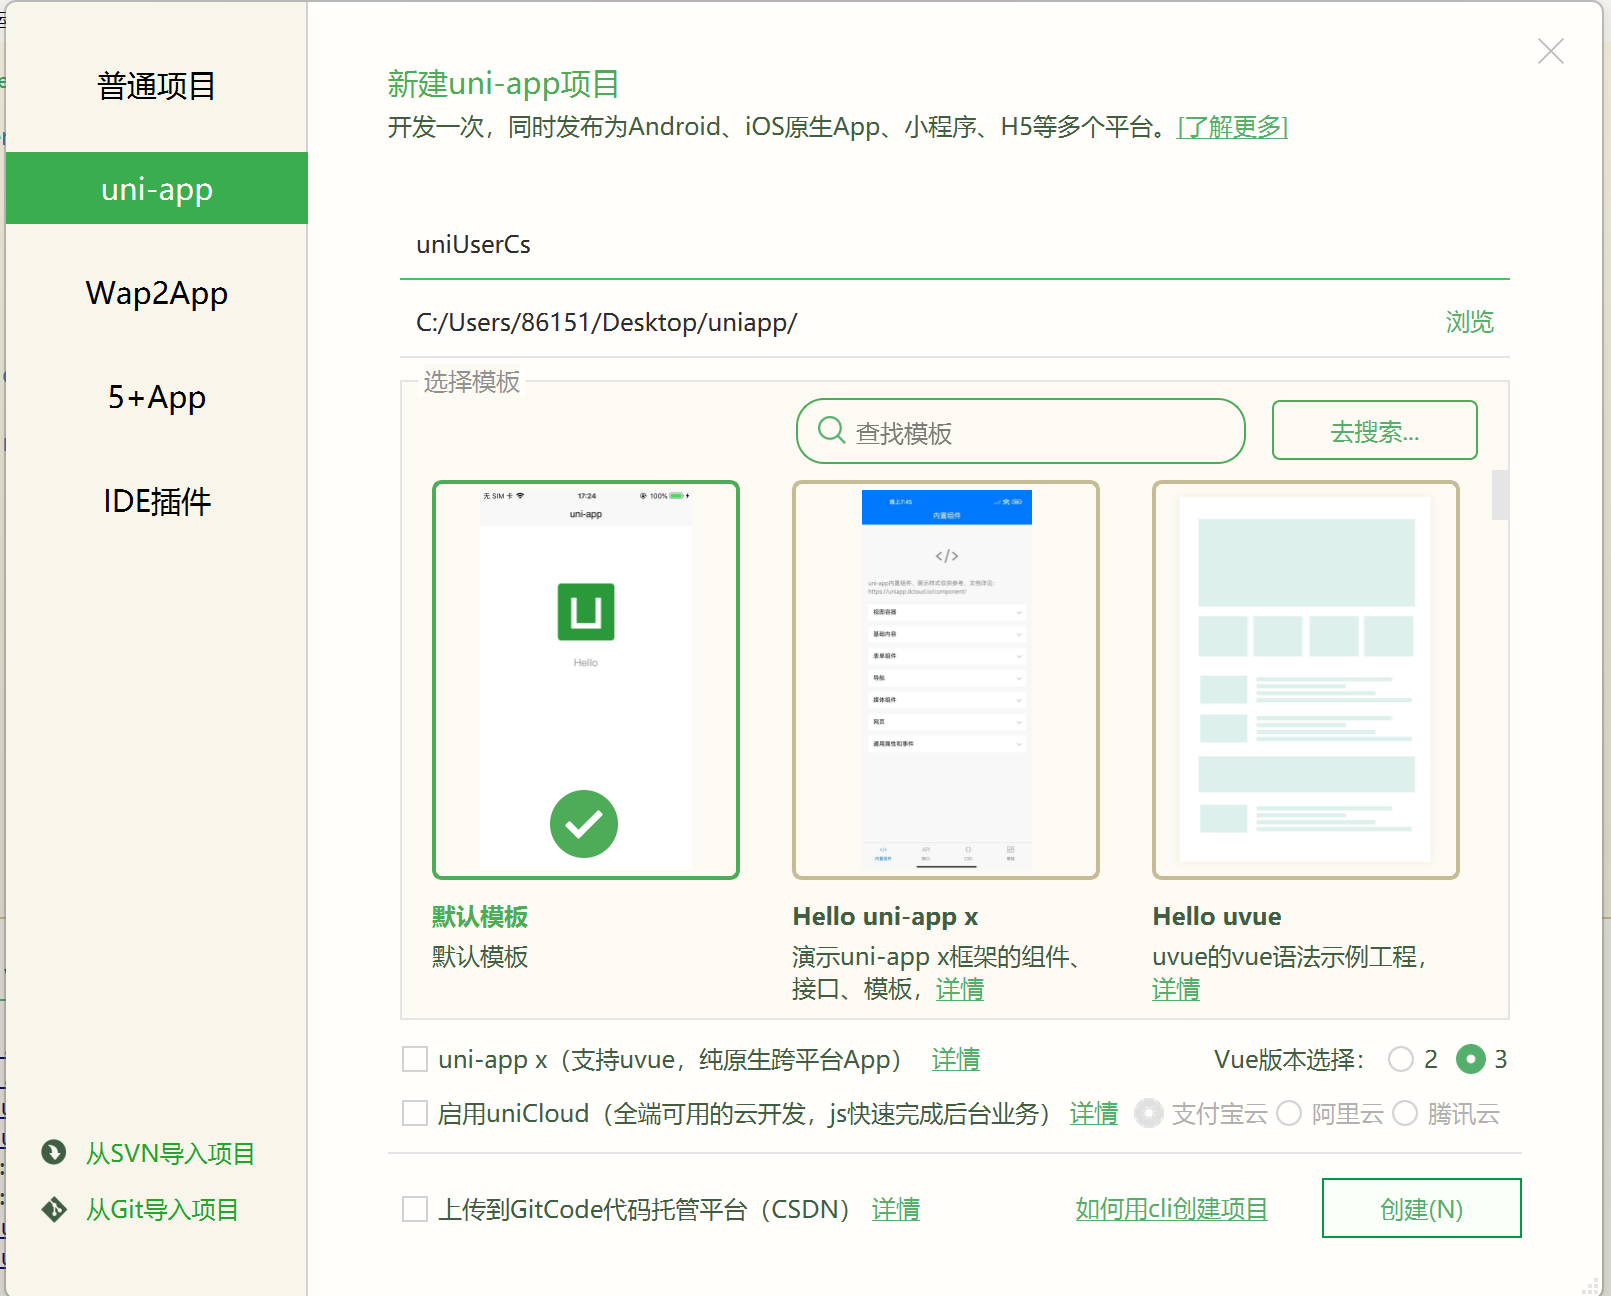
我们选择默认模版就好,注意我这里用的是Vue3
然后我们在这个新的项目里新建一个common文件夹: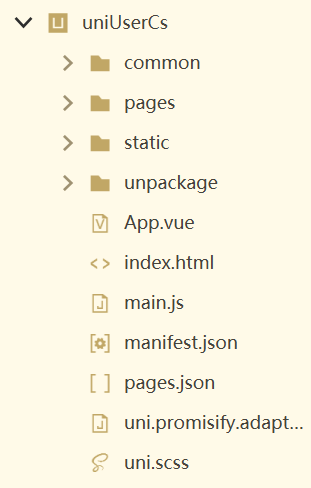
在common文件夹里新建两个文件:
第一个是config.js,代码如下:
// common/config.js
// 配置基础URL
const BASE_URL = "http://127.0.0.1:8000";
export default
  BASE_URL
然后是request.js,这是封装的部分,代码如下:
// common/request.js
import BASE_URL from './config.js';

export const request = (options) => {
  return new Promise((resolve, reject) => {
    uni.request({
      url: BASE_URL + options.url,
      method: options.method || 'GET',
      data: options.data || {},
      header: options.header || {},
      success: (res) => {
        resolve(res.data); // 注意:这里返回的是 res.data
      },
      fail: (err) => {
        reject(err);
      }
    });
  });
}然后我们在main.js里面做全局注册:
import App from './App'

// #ifndef VUE3
import Vue from 'vue'
import './uni.promisify.adaptor'
Vue.config.productionTip = false
// main.js

//以下两行是注册
import { request } from './common/request.js'
Vue.prototype.$http = request

App.mpType = 'app'
const app = new Vue({
  ...App
})
app.$mount()
// #endif

// #ifdef VUE3
import { createSSRApp } from 'vue'
export function createApp() {
  const app = createSSRApp(App)
  return {
    app
  }
}
// #endif接着在我们的pages文件夹里面找到index.vue
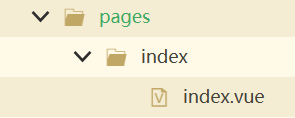
这里附上我的测试代码:
<template>
	<view class="content">
		<view >{{username}}</view>
		<br />
		<view >{{password}}</view>
		<button @tap="getLoginMessage">获取一次API</button>
	</view>
</template>

<script>
	import { request } from '../../common/request.js'

	export default {
		data() {
			return {
				username: '',
				password: ''
			}
		},

		methods: {
		async getLoginMessage(){
			try {
			    // 注意:这里需要完整的URL,或者你的request.js中已经配置了baseURL
			    const res = await request({
			      url: "/login/小花/123456",
			      method: 'GET'
			    });

			    console.log('API响应:', res); // 添加日志查看响应结构

			    if (res.username === '小花') {
			      this.username = res.username;
				  this.password = res.password;
			    } else {
			      uni.showToast({
			        title: '获取个人信息失败',
			        icon: 'none'
			      });
			    }
			  } catch (err) {
			    console.error('请求失败:', err);
			    uni.showToast({
			      title: '网络请求失败',
			      icon: 'none'
			    });
			  } finally {
			    console.log('获取了一次API')
			  }
			}
		},
		onLoad() {
		this.getLoginMessage()
		},
		}

</script>

<style>
	.content {
		display: flex;
		flex-direction: column;
		align-items: center;
		justify-content: center;
	}
</style>
然后我们运行一下: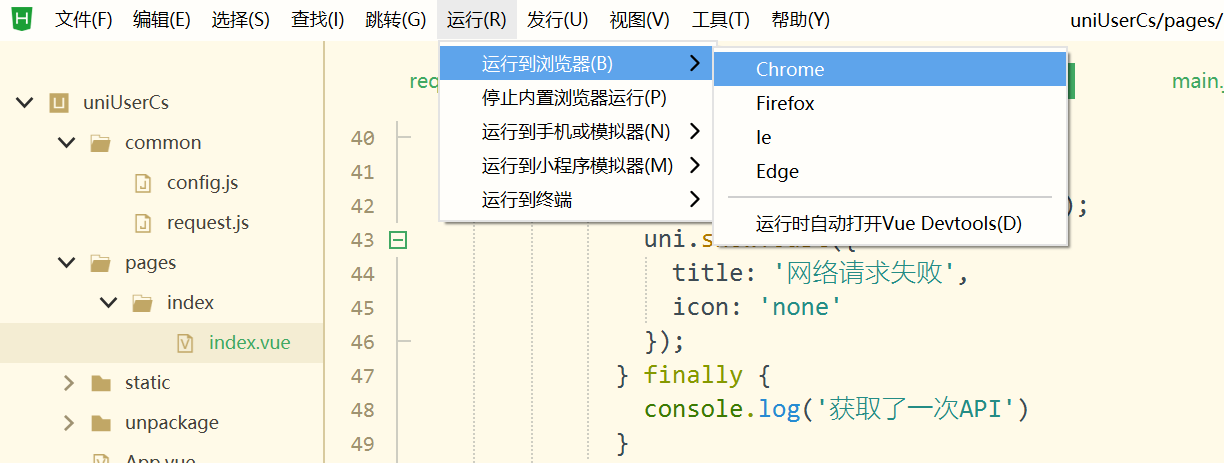
大概是这样: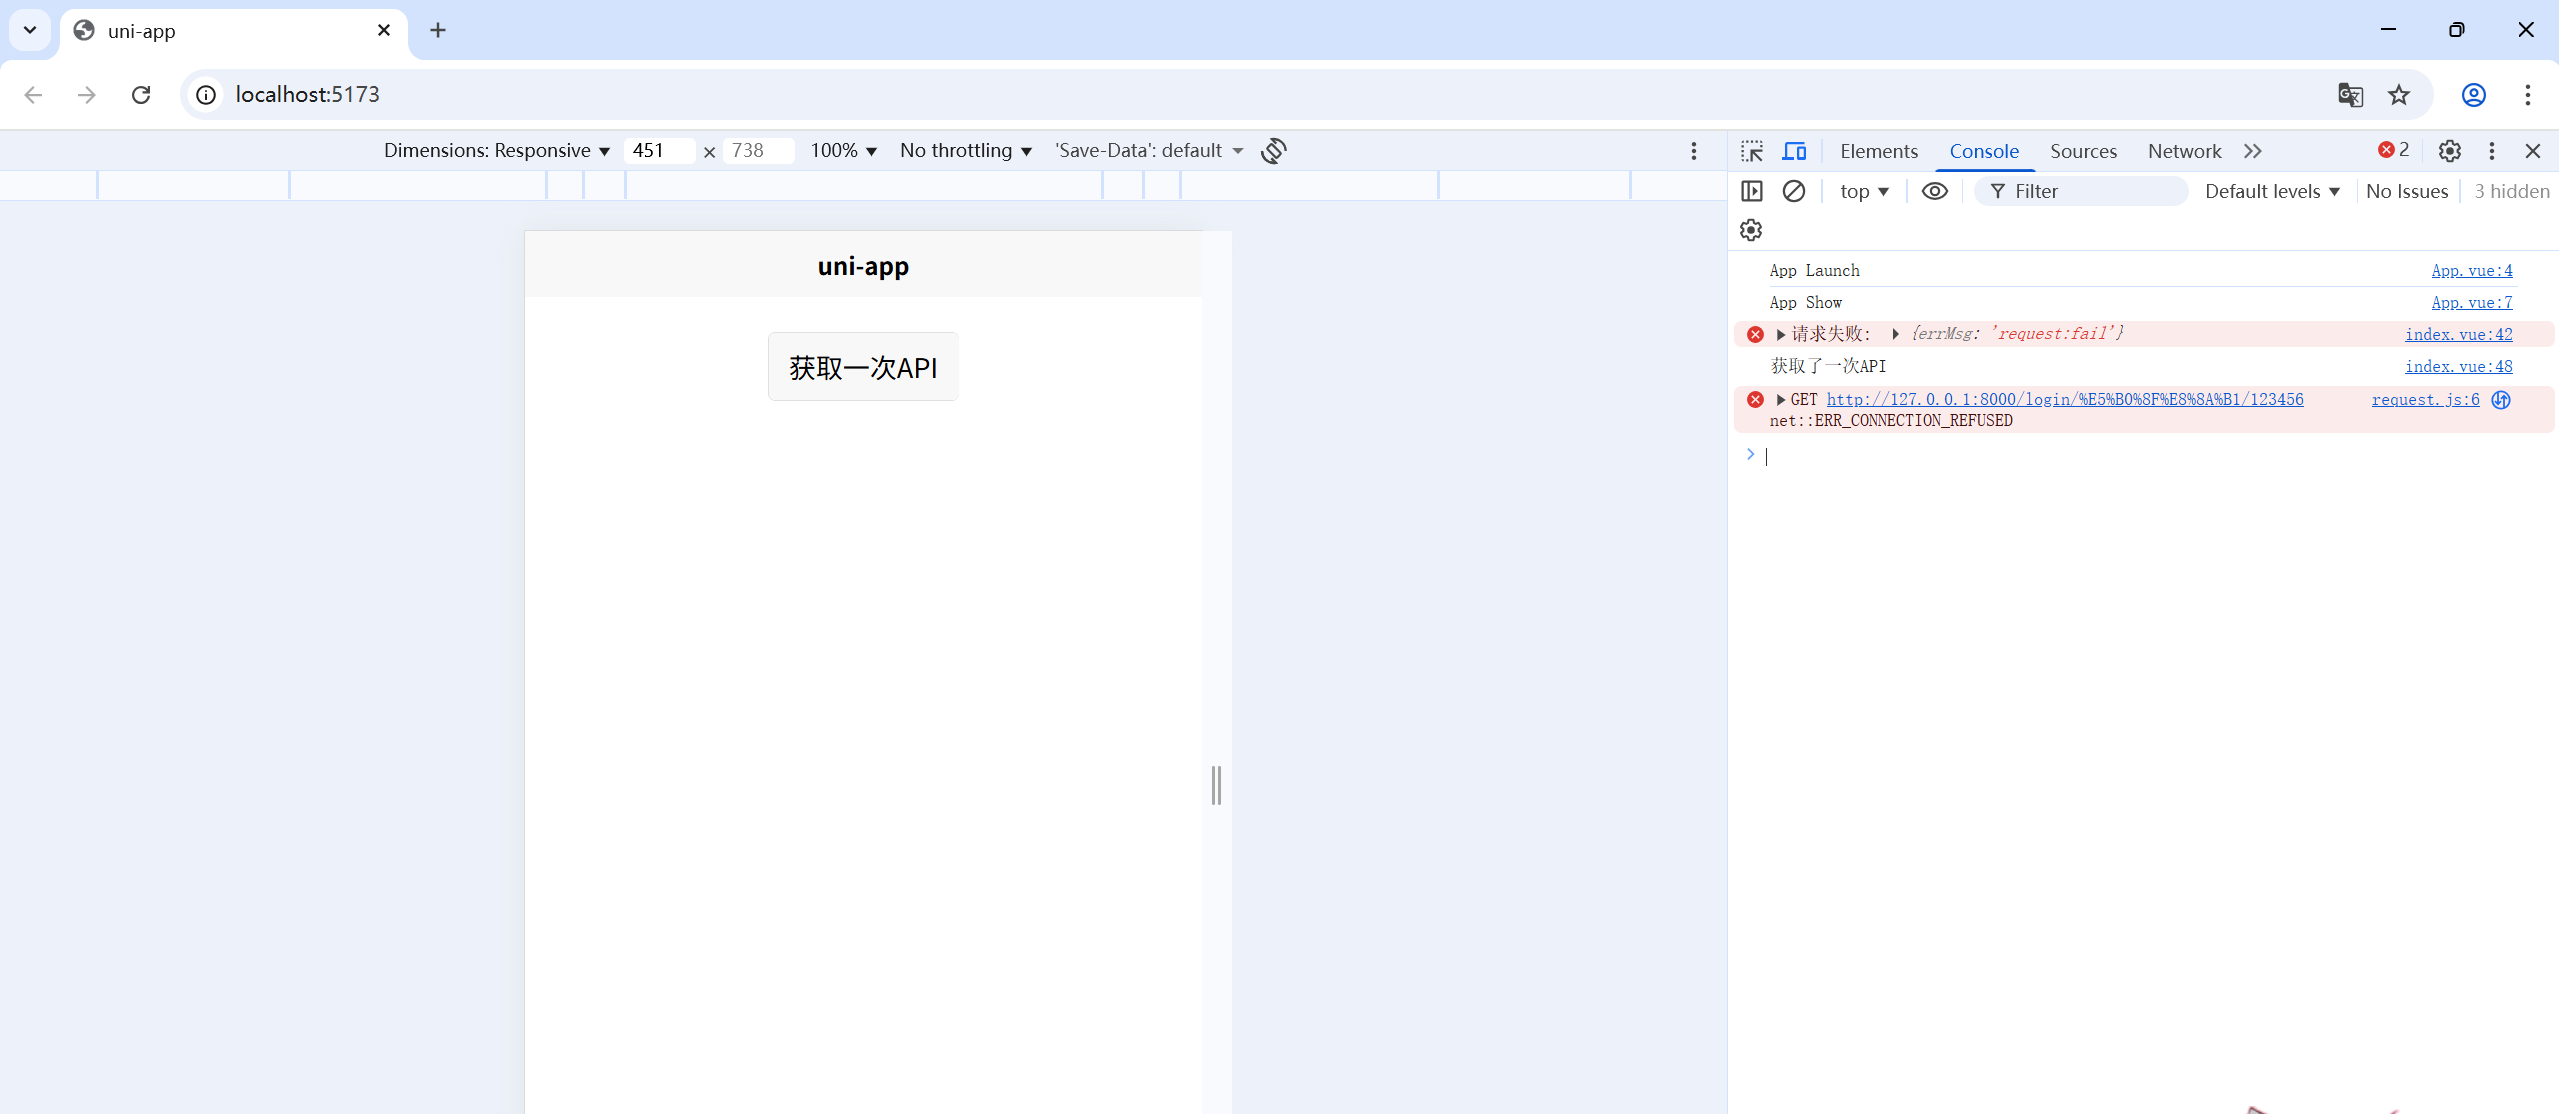
你可以看到现在我用的前端端口是http://localhost:5173/,接下来我们使用fastapi进行端口测试,附上我的测试代码:
from fastapi.middleware.cors import CORSMiddleware
from fastapi import FastAPI
from starlette.responses import JSONResponse

app = FastAPI()

app.add_middleware(
    CORSMiddleware,
    allow_origins=["http://localhost:5173"],  # 或者指定特定的来源,如 ["http://localhost:3000"]
    allow_credentials=True,
    allow_methods=["*"],  # 允许所有方法
    allow_headers=["*"],  # 允许所有请求头
)
@app.get("/login/{username}/{password}")
def read_root(username: str, password: str):
    data = {"username": username, "password": password}
    return JSONResponse(content=data)
我的文件名是2.py,所以运行我们的后端时,使用:uvicorn 2:app --reload
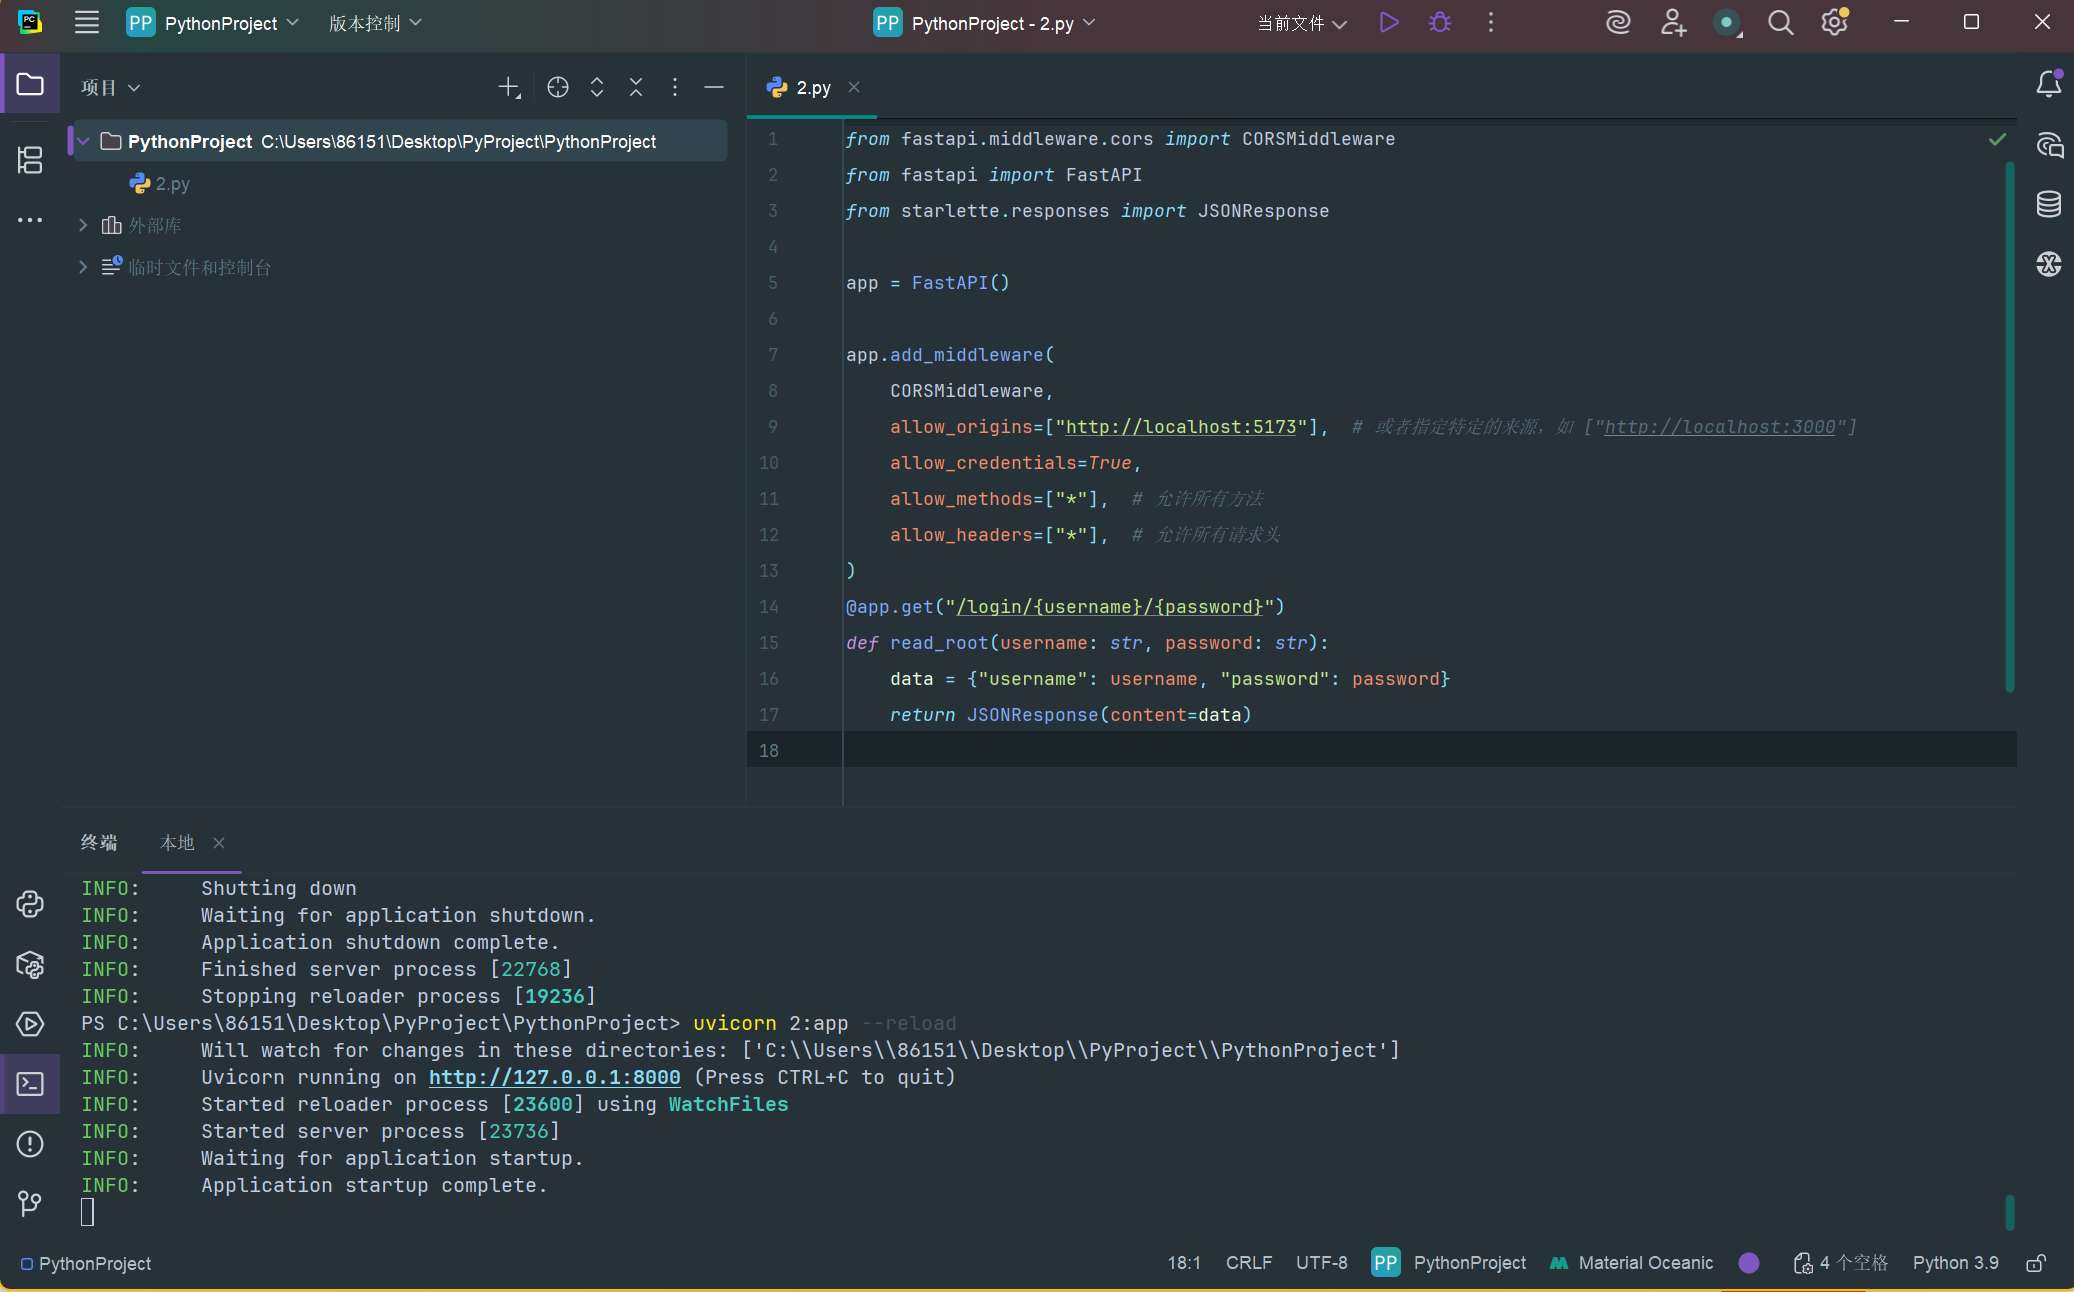
成功运行,接下来我们对前端的页面上的‘获取一次API’按钮点击一下: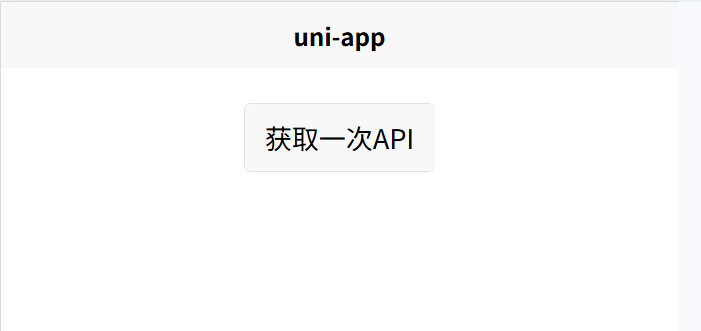
结果: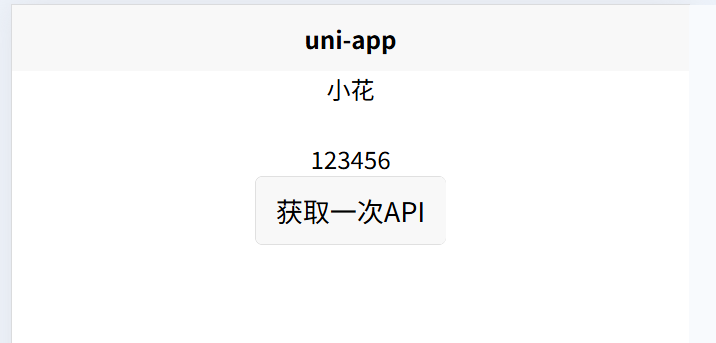
控制台的信息:

加入社区!打开量化的大门,首批课程上线啦!
更多推荐



 16
16 0
0- 0


 已为社区贡献1条内容

所有评论(0)